We Build Digital Experiences ThatTransform Business
Bangladesh's leading IT solutions company delivering cutting-edge web development, custom software, and digital marketing since 2016.
Trusted by leading companies in Bangladesh


Comprehensive Digital Solutions
Custom solutions tailored for Bangladesh businesses
Happy Clients
Years Experience
Projects Delivered
Client Satisfaction
Enterprise Software Solutions
Ready-to-deploy software products designed for Bangladesh businesses
Accounting & Inventory
Complete financial management with inventory tracking
HR & Payroll System
Streamline employee management and payroll processing
Hospital Management
Comprehensive healthcare facility management solution
Point of Sale (POS)
Modern retail and restaurant POS system
School Management
Complete education institution management
Diagnostic Management
Medical lab and diagnostic center solution
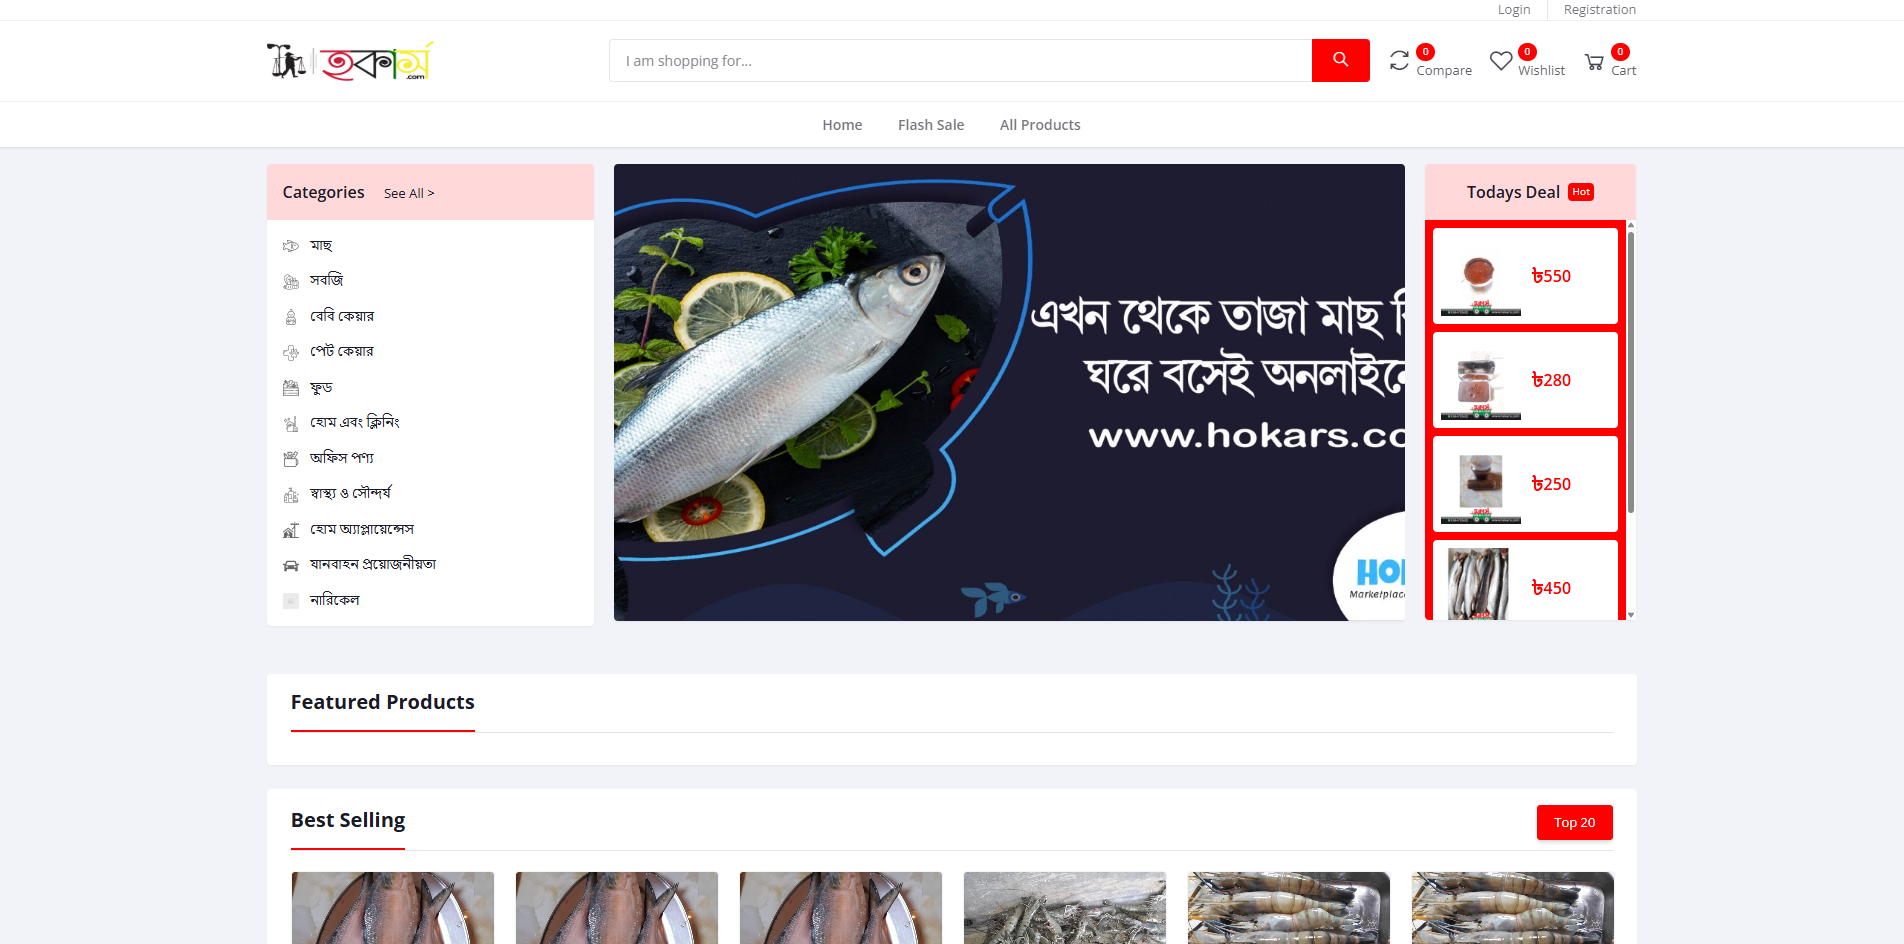
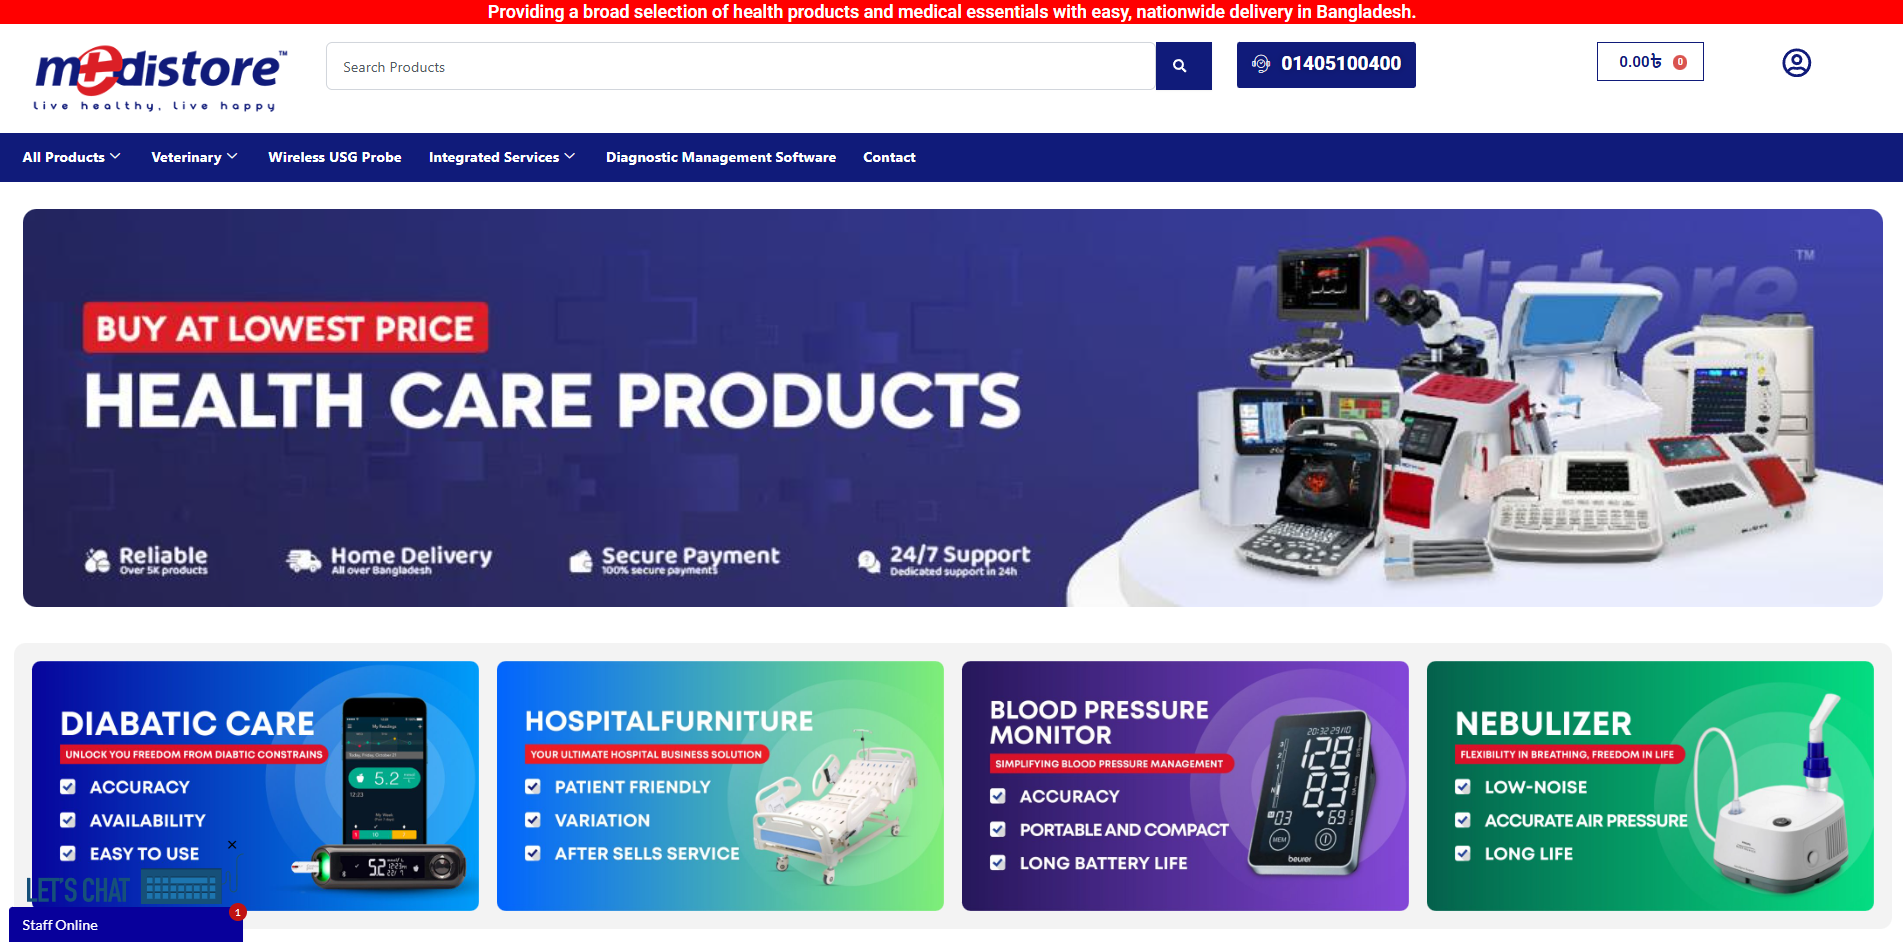
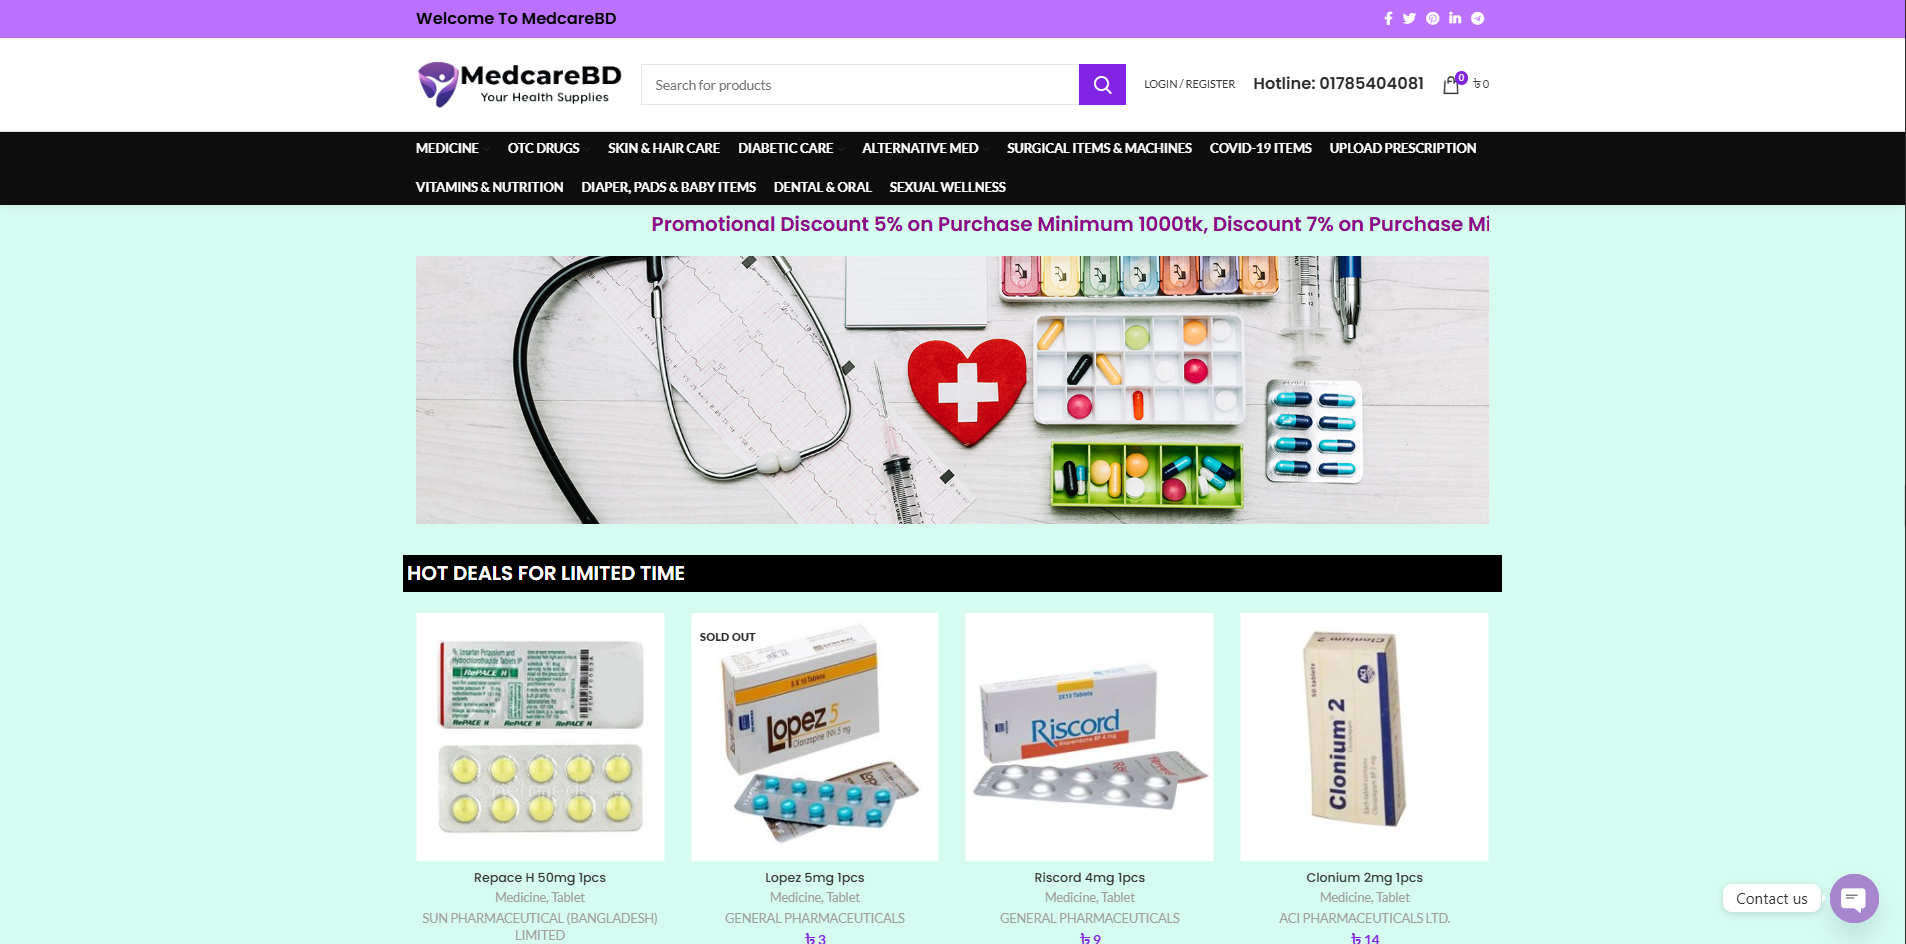
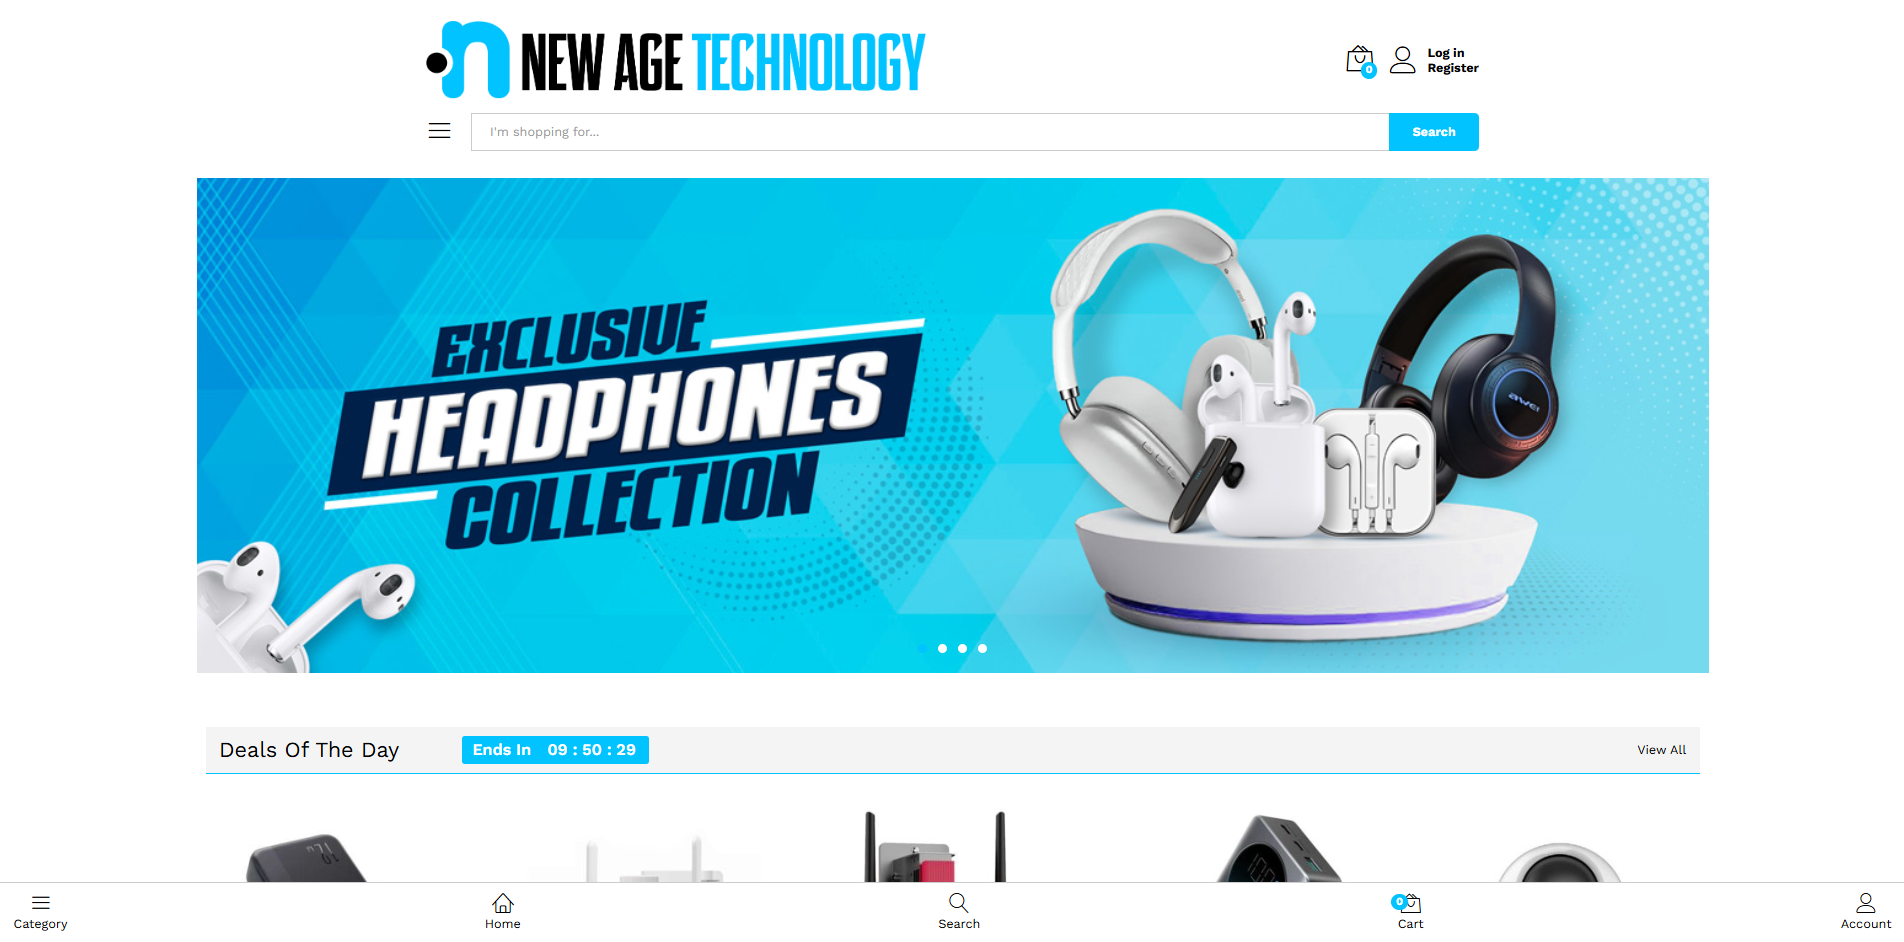
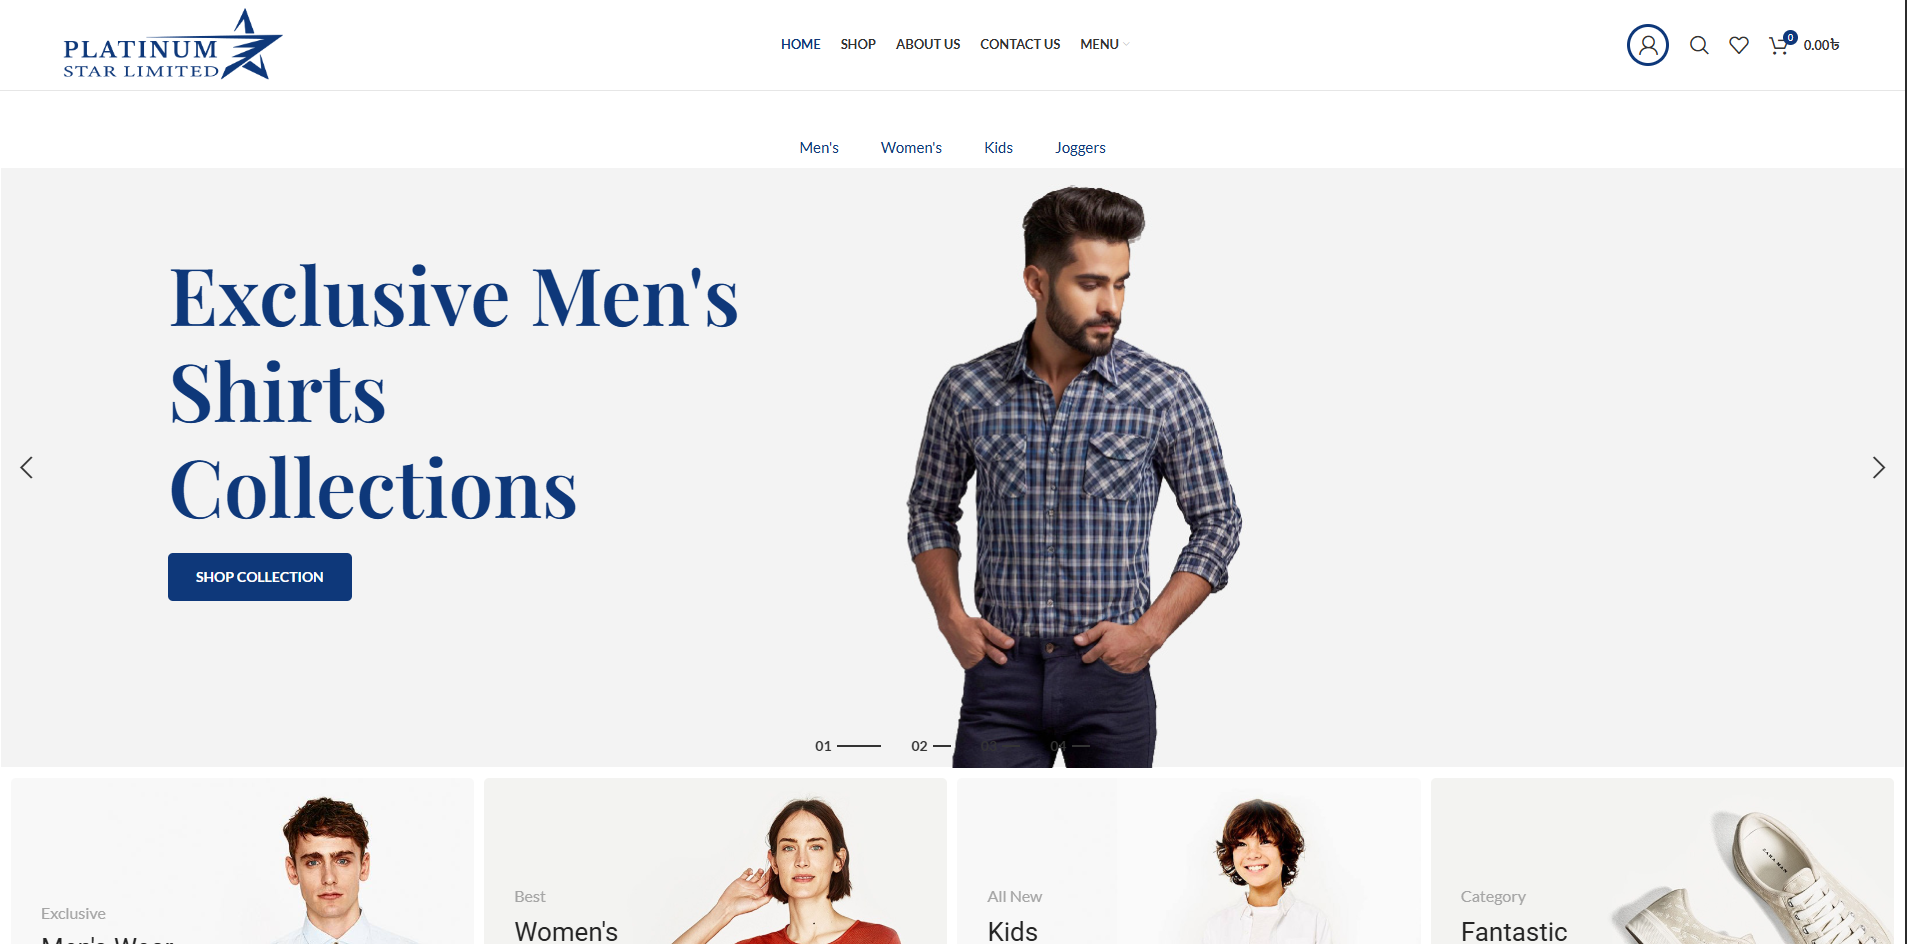
Projects We're Proud Of
Showcasing our best work across industries
What Our Clients Say About Us
"W3 Techniques is an excellent company. They understand the incalculable difference having a well-managed, visually appealing, and highly functional website can affect the success or failure of a company. They are the pros and I will most certainly recommend them to anyone who is looking for the best in the business in the future."

Md Rashed
"We needed our website updated within a short timeframe and were impressed that W3 Techniques was able to get it done. Their communication is excellent, they provided quick responses, and speedy turnaround. We're pleased with the updates and looking forward to our continued work with this excellent company."

Khayaruzzaman Prince
CEO
Ready to Transform
Your Business?
Let's discuss your project and bring your vision to life